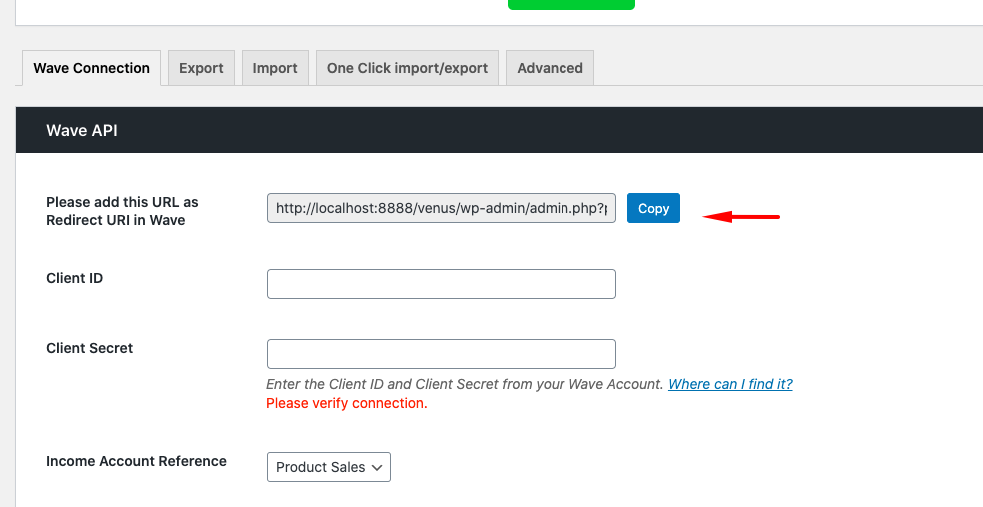
- Copy the Redirect URL From the Wave Connector page in WordPress dashboard. We will use this later:
2. Login to your Wave Account.
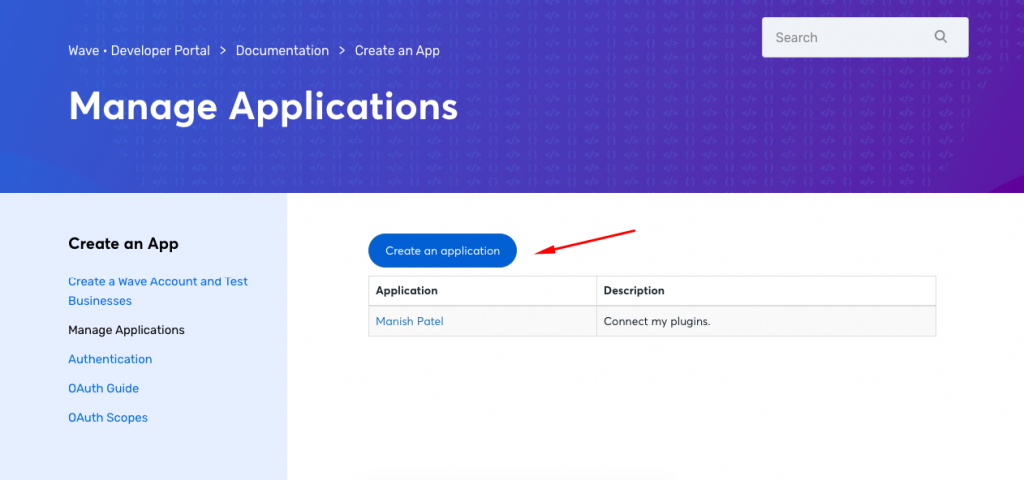
3. Go to this URL: https://developer.waveapps.com/hc/en-us/articles/360019762711-Manage-Applications.
4. Click on Create an Application button
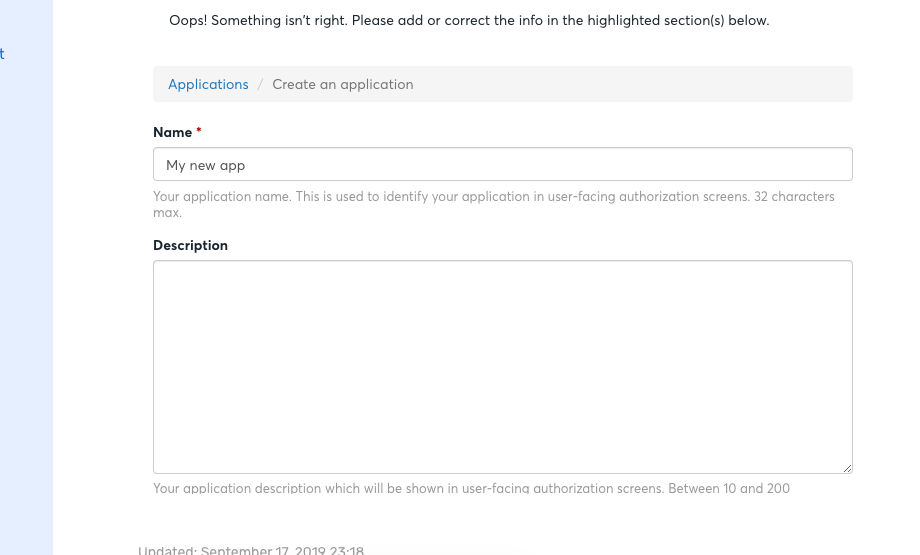
5. Give it a Name and Description. For Redirect URI, paste the link that we copied in step #1.
6. Select Terms and Conditions and click on the Create your Application button.
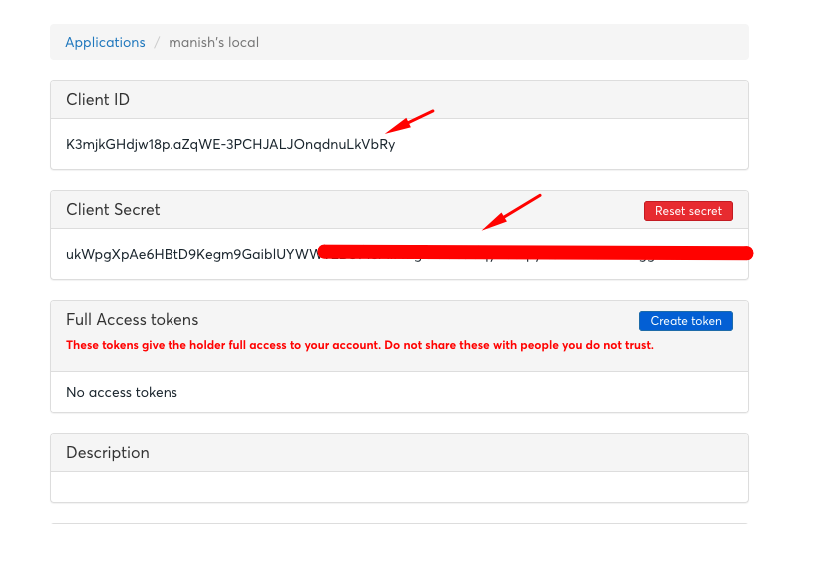
7. Click on the name of Application you just created. Copy the Client ID and Client Secret from here:
Next: Complete the Wave WooCommerce setup using this guide.